Wednesday, 9 December 2015

More van

 Floor is 9mm plywood. To avoid having to drill and screw directly into the metal floor we've Sikafixed 9mm battens to the flat parts of the floor (which are conveniently 9mm below the ridged sections).
 All cables for fridge, lights, lesiure battery, heater, etc run between the ridges

 Insulation then on top of the that, and then the floor is screwed to the battens

We start the cupboards. The lightweight 15mm 'carbon' style plywood is over £100 per sheet. Jigsaw the openings. 

Use a router to cut slot in the hole edges. 

It's a 2mm slot cutter

T-trim tidies up the edges

 This where it will go in the van - large unfinished opening for the fridge.

 The pieces you cut out become the doors. Special door trim goes all the way round.  

The door fits snugly in hole .

 Viewed from inside. 

 And outside

And so the Van

Our current VW Transporter T5 van is getting a little long in the tooth so we have recently bought a 2014 model that we are converting.

 The old van

 Seating arrangements

 The hob and sink

 Loads of storage

 One of the beds


The old one has served us well as a weekender / day van. Based on 2.5 tdi 130 bhp it would cruise at 70mph at 2000 revs and deliver around 33mpg. With cruise control it was effortless to drive. We've done over 100,000 miles in it with trips to the Alps and Scotland every year.

When we converted it we put in hob, sink, auxiliary diesel heater, cupboards, rear single passenger sits that convert to beds, front swivels, leisure battery etc. The configuration meant hat we could still carry 8x4 sheets of plasterboard and 3.6m lengths of timber down the middle. The base of the rear seats were steel lockers that could be padlocked to make two large secure stores for those remote spots when you leave the van for 2-3 days trip to the mountains. 

The new van will have all these plus fridge and pop-top. The pop-top will have a bed so in effect it will be 4 berth. The fridge will run from 12v leisure battery backed up with solar charger - we'll also put in an electrical hookup with battery charger and 300w inverter.

The new base van is a VW  Transporter T5 2.0 tdi 140 bhp highline bluemotion (common rail engine). It comes with colour coded bumpers, tailgate, cruise control, air con, sat nav, bluetooth etc.

Tuesday, 8 December 2015

Heat Pump update

Let me wax lyrical about Heat Pumps - Air Source Heat Pumps (ASHP)


They are simply, quite amazing. Although I spent ages researching them, made all the calculations, spoke to lots of people about them etc, it wasn't until I found someone with one who kept all their electricity consumption figures on a spreadsheet, that I finally decided to take the plunge.

I mean. Get all your heat for your home in winter from the air outside? Crazy!
Crazy but true.
What about when it's below freezing I hear you ask - no problem.

Let's start with the figures.
Oct 2013 - Oct 2014. Cost to run £311.00.
That's all the space heating for our 3 bedroom, 3 reception room, 2 bathroom (and sun lounge) home for a whole year. Bathrooms at 20 degrees, living rooms 19 degrees and bedrooms 18 degrees.

We are getting £600 per year from the government in what are called RHI's (renewable heat incentives). These are for a period of 7 years so we get a total of £4200 in subsidies. The idea of the RHI's is to give those installing new heat systems a financial payback for the greater cost of installing heat pump systems compared to the cheaper installation cost of an oil boiler.
You can get a an efficient condensing oil boiler for around £1500. We paid £4000 for out heat pump. Labour costs of installing each would be about the same.

How do they work?
They are in effect a giant fridge. A fridge takes the heat out of the inside (thus cooling your food)  and dumps it in those black coils at the rear. This is what our heat pump does - takes the heat out of the air and dumps it in the underfloor heating coils. Heat pumps work better with underfloor heating as the water in the pipes never really gets above 42 degrees. Standard domestic radiators require the water in them to be over 60 degrees. Using heat pumps with standard radiators won't work as you'll not be able to get enough heat from them to sufficiently warm your house... unless you double (at least) the size of your radiators.
Further points:
  • When we renovated the house we took great care to insulate it to a high standard (as can be seen from past blog posts) . This helps the ASHP deliver enough heat to keep the house toasty. 
  •  Underfloor heating (UFL) is a great way to heat your house - warm air gradually rises and you get less dust and convection currents - drafts. You'll have nice toasty feet too.
  • UFL with hot water embedded in your screed means you will need dig out your floors to a depth of at least 300mm (having said that there are some systems that you can lay on your existing floor and only raise it be 20-30mm)
  • The ASHP does make some noise but certainly no more than a standard boiler. There are some regulations about where you can place them (although local authorities do seem a little confused about the situation).
  • ASHP require little maintenance and there isn't much to go wrong - a couple of electrical motors basically.
  • I installed the system myself and got great support and advice by the supplying company. In order to qualify for the RHI's you need the system to be supplied, designed and commissioned by an MCof S accredited company.


Friday, 16 October 2015

House update Dec 2015

It's been a long time since I've posted here - much has happened so been very busy.
The house is complete.

Here are some photos showing the final stages

Front elevation of the crumbly part gets membrane...

And then cladding. It's now waterproof!


 The old potting shed wall gets a makeover.

 
 The pond is finished.


 Great sunsets in the summer
 
 The house with the golden windows.
  
 The heat pump gets connected - more on this later


 Porch over front door goes up.

 
 More glowing at sunset....       and the patio and decking get laid
 

And finally the paving


Friday, 6 June 2014

May 2014


One elevation gets the cladding treatment - Ceder feather edge with a breathable membrane behind.
 
 Battens are 'thunderfbolted' (no rawl plugs) to wall

 Waterproof membrane. Great colour!

 A wooden house!

Pipes in ceiling void - radiators on 1st floor and the main pipes from air-source heat pump to buffer tank in plant room

 All walls are battened out, insulated and plasterboarded.

 Banisters on landing

 Plumbing within the wall in downstairs bathroom.

 Cables everywhere for 1st fix electrics

Bedroom 2 plasterboarded 

 Looks a bit cleaner now

Thursday, 5 June 2014

Since September 2013

We've been a bit busy since November 2013... and Rogue Runs Events www.rogueruns.co.uk has taken up any available computer time in the evening... so I haven't got round to updating this blog till now.

A fair bit has happened on the building project. After the roof was finished last summer we've been working on the inside of the final part of the house:

New ground floors (slab, insulation and screed), all plaster removed, new openings in walls, some openings blocked, tanking all external walls, insulating all external walls, underfloor heating, new first floor joists and boards, new windows and doors, all walls and ceilings plasterboarded, new stairs, sun lounge ...


 New front doorway opening started

 The old floor in what will become the study.

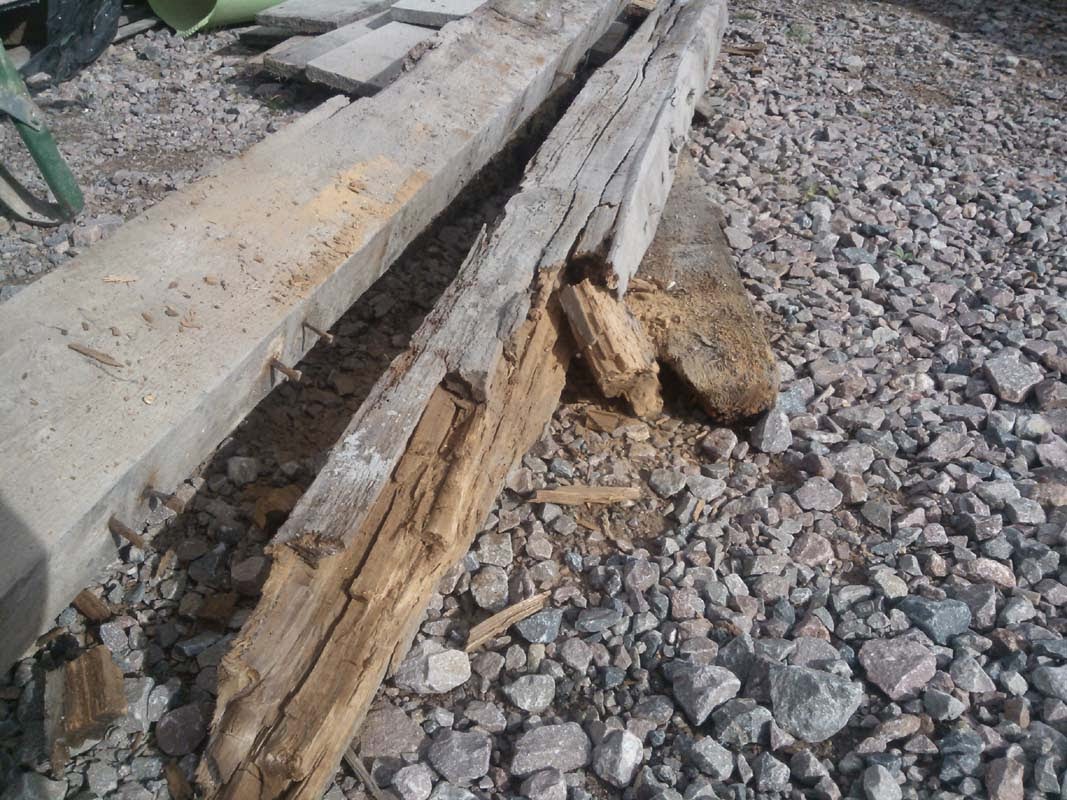
 Rotton floor joists

 Joc takes the wall down - full height from ground floor to roof - 4 skips worth

 Steve helps dig trench for soil pipe under old front doorway

 Soil pipe for new ground floor bathroom.

 With wall, floor and stairs removed.


 Shuttering for new concrete slab

 The gaps between wall and slab will be for condensate drain

 Slab goes down. 4 cubes of redimix

 Condensate drains go in. All 1:50 gradient to take water outside. 

 Old bedroom dorway gets blocked up with recycled bricks.

 The french doors go.


 Before...

 And after. 

 Plaster removed from bedroom walls

 New doorway cut for entrance to bedroom 2

 The jokers built the wall on the floor boards and joists

 Pinning the wall prior to replacing the lintel above the front door.

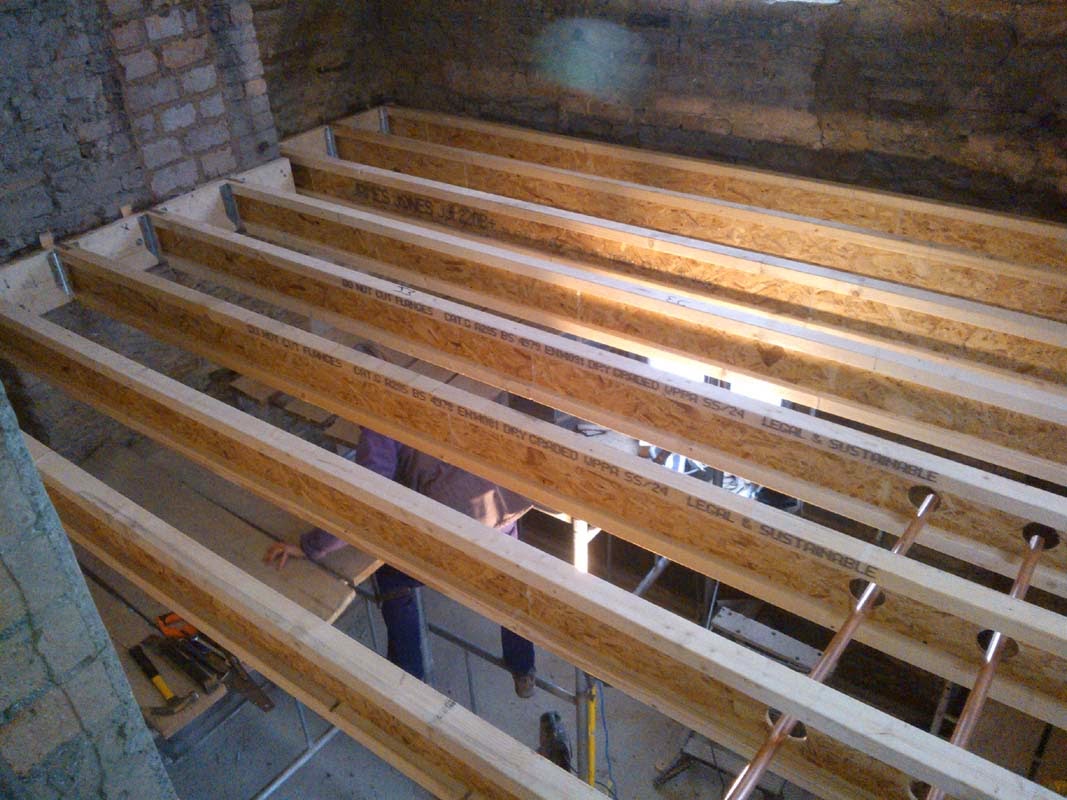
 Nice new 'engineered' joists go in.

 Joists supported by wall plates - note epoxied threaded bar.

 Floorboards down on joists

 New window opening in bedroom 2 - old window blocked up

 Conservatory underfloor piping
Insulation down on slab and walls tanked

 Underfloor piping in the study

How it all connects to the manifold

 Screed down, stud walls go up

 50mm insulation onto all exterior walls

 New stairs go in

 Upstairs rooms get the insulation treatment and stud wall goes in betweeen stairwell and bedroom 3


Render goes on

 Painted .... and sun-lounge goes up

 Just two windows on this part on the south elevation now.